Tailwind CSS là 1 low-level CSS framework rất dễ tùy biến, không như những framework, UI Kits khác khi tập trung vào các pre-design components (buttons, cards, modals…) có thể giúp bạn phát triển nhanh ban đầu nhưng sau đó sẽ rất mất công để custom styling cho các component đó. Tailwind tập trung vào low-level utility classes (utility-first) giúp bạn tự build hoàn toàn design của mình mà không phải lo lắng về việc override các style có sẵn.
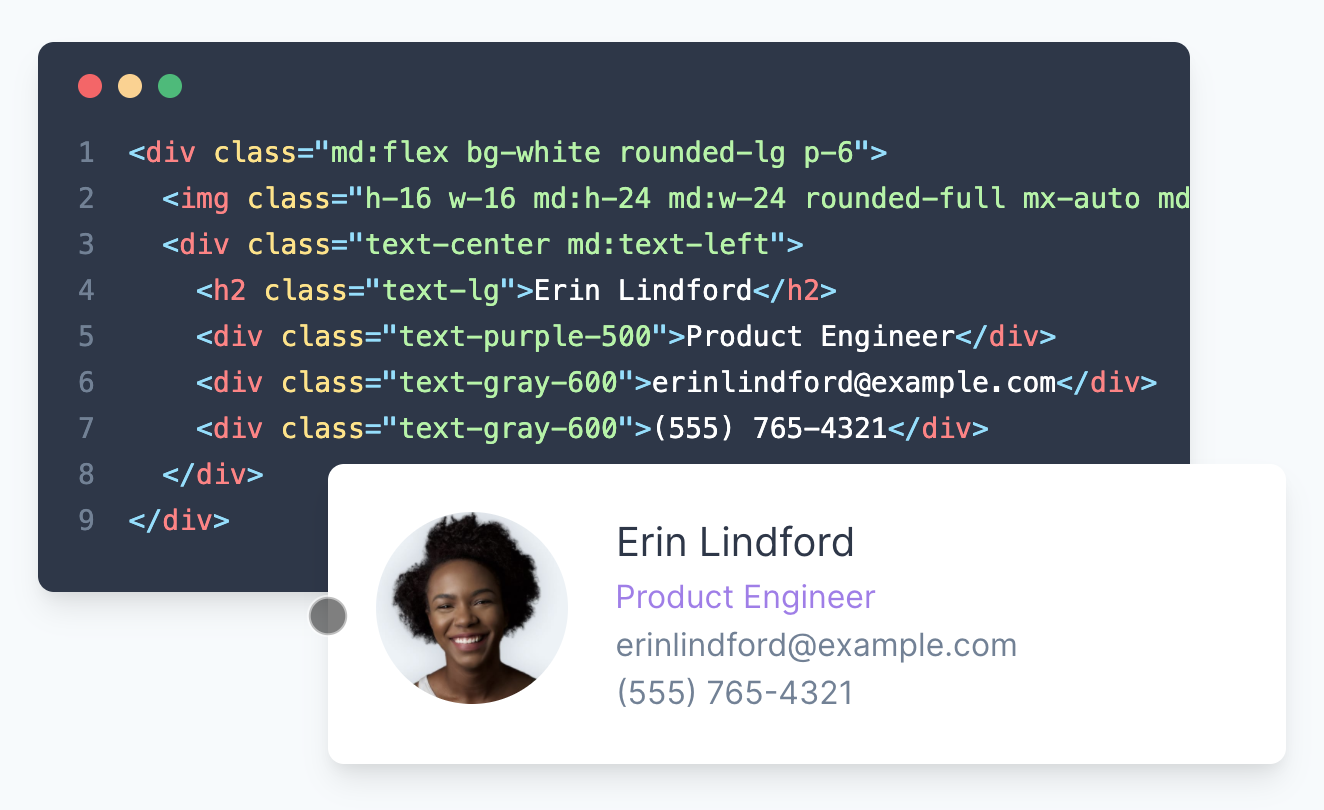
Khá giống với Bootstrap nhưng bộ utility class của Tailwind CSS phong phú hơn rất nhiều
Bài này mình sẽ hướng dẫn anh em cách để tích hợp Tailwind CSS vào React app nhé 😄 😄
Tạo react app
Cách đơn giản nhất để tạo react app là sử dụng create-react-app script với npx
npx create-react-app my-app && cd my-appSử dụng npx anh em có thể chạy create-react-app script mà không cần phải cài package này
Thêm dependencies
Cài đặt các dependency sau để set up Tailwind CSS
yarn add tailwindcss postcss-cli autoprefixer -D
## hoặc npm install tailwindcss postcss-cli autoprefixer --save-dev
Chỉ cần thêm vào devDependencies thôi nhé
Ở đây ngoài Tailwind CSS chúng ta cài thêm:
- PostCSS: 1 công cụ để phân tích và chuyển đổi styling bằng các JS plugin, giúp bạn gợi ý CSS, hỗ trợ variables và mixins, biên dịch các CSS mới…
- Autoprefixer: 1 plugin của PostCSS hỗ trợ việc thêm các vendor prefix(
-webkit-,-moz-,-ms-,-o-,…) bằng cách lấy thông tin từ Can I Use để CSS bạn viết có thể tương thích ở nhiều trình duyệt khác nhau
Config PostCSS
PostCSS giúp quản lý và cấu hình việc build CSS.
Tạo file config:
touch postcss.config.jsThêm config sau:
module.exports = {
    plugins: [
        require('tailwindcss'),
        require('autoprefixer')
    ],
};
Quá trình build sử dụng 2 plugin là tailwindcss và autoprefixer
Injecting Tailwind CSS
Tạo 1 sub-folder là styles trong folder src. Trong folder styles tạo file tailwind.css
Hoặc dùng command line:
mkdir src/styles && touch src/styles/tailwind.cssImport các module sau của Tailwind CSS
@tailwind base;

@tailwind components;

@tailwind utilities;
tailwind.css
Folder chứa file tailwind.css các bạn có thể đặt tùy ý theo project của mình nhé, có thể là
src/static,src/assets,src/styles…
Thêm build script
Mở file package.json, thêm build script sau (vào object scripts):
"build:css": "postcss src/styles/tailwind.css -o src/styles/main.css"Script này sẽ sử dụng PostCSS CLI để build css dựa trên những config trong file tailwind.css với output (flag -o) là file main.css
Anh em có thể tùy ý chọn tên file và vị trí, ở đây mình để cả file input chứa config và output trong cùng 1 folder là src/styles
Bây giờ anh em có thể tự trigger build bằng lệnh:
yarn build:css
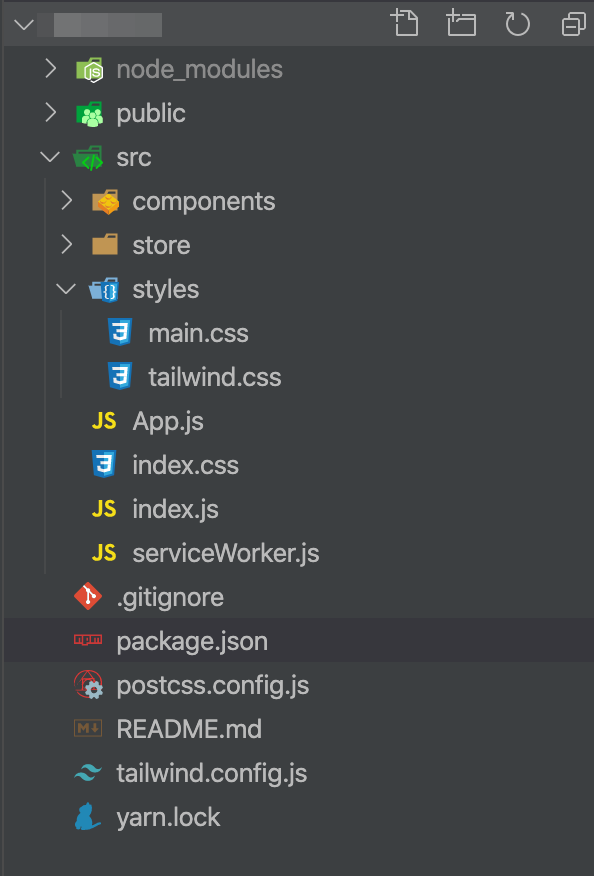
# hoặc npm run build:cssSau khi config và build xong, project của bạn sẽ trông như thế này:
Để tiện hơn thì các bạn nên tích hợp build:css command vào script start và build của project, như vậy sẽ đảm bảo CSS luôn đc build lại theo những update mới nhất của mình mỗi lần start project:
"scripts": {
	"start": "npm run build:css && react-scripts start",
	"build": "npm run build:css && react-scripts build",
	"test": "react-scripts test",
	"eject": "react-scripts eject",
	"build:css": "postcss src/styles/tailwind.css -o src/styles/main.css"
}
Tất cả scripts sau khi hoàn thiện
Bây giờ để build CSS và start project thì chỉ cần yarn start là đủ.
Sử dụng trong react component
Import CSS đã build vào file start của project (của mình là index.js):
import './styles/main.css';
// ... other imports
index.js
Tạo 1 component cơ bản:
import React from 'react';

function App() {
	return <div className="flex justify-center pt-8">
		<div className="max-w-sm w-full lg:max-w-full lg:flex shadow-lg">
			<div className="h-48 lg:h-auto lg:w-48 flex-none bg-cover rounded-t lg:rounded-t-none lg:rounded-l text-center overflow-hidden" style={{ backgroundImage: `url('https://image-us.24h.com.vn/upload/1-2020/images/2020-02-06/kodfd-1580928361-474-width640height480.jpg')` }} title="Woman holding a mug">
			</div>
			<div className="border-r border-b border-l border-gray-400 lg:border-l-0 lg:border-t lg:border-gray-400 bg-white rounded-b lg:rounded-b-none lg:rounded-r p-4 flex flex-col justify-between leading-normal">
				<div className="mb-8">
				<p className="text-sm text-gray-600 flex items-center">Latest News</p>
					<div className="text-gray-900 font-bold text-xl mb-2">Messi is moving to Manchester City</div>
					<p className="text-gray-700 text-base">Lorem ipsum dolor sit amet, consectetur adipisicing elit. Voluptatibus quia, nulla! Maiores et perferendis eaque, exercitationem praesentium nihil.</p>
				</div>
				<div className="flex items-center">
					<img className="w-10 h-10 rounded-full mr-4" src="https://encrypted-tbn0.gstatic.com/images?q=tbn%3AANd9GcRG2WOlZ4KLuNN1ksjNOmh6oZ091IUhJiZD7w&usqp=CAU" alt="Avatar of Jonathan Reinink" />
					<div className="text-sm">
						<p className="text-gray-900 leading-none">Jonathan Reinink</p>
						<p className="text-gray-600">Aug 18</p>
					</div>
				</div>
			</div>
		</div>
	</div>;
}

export default App;
App.js
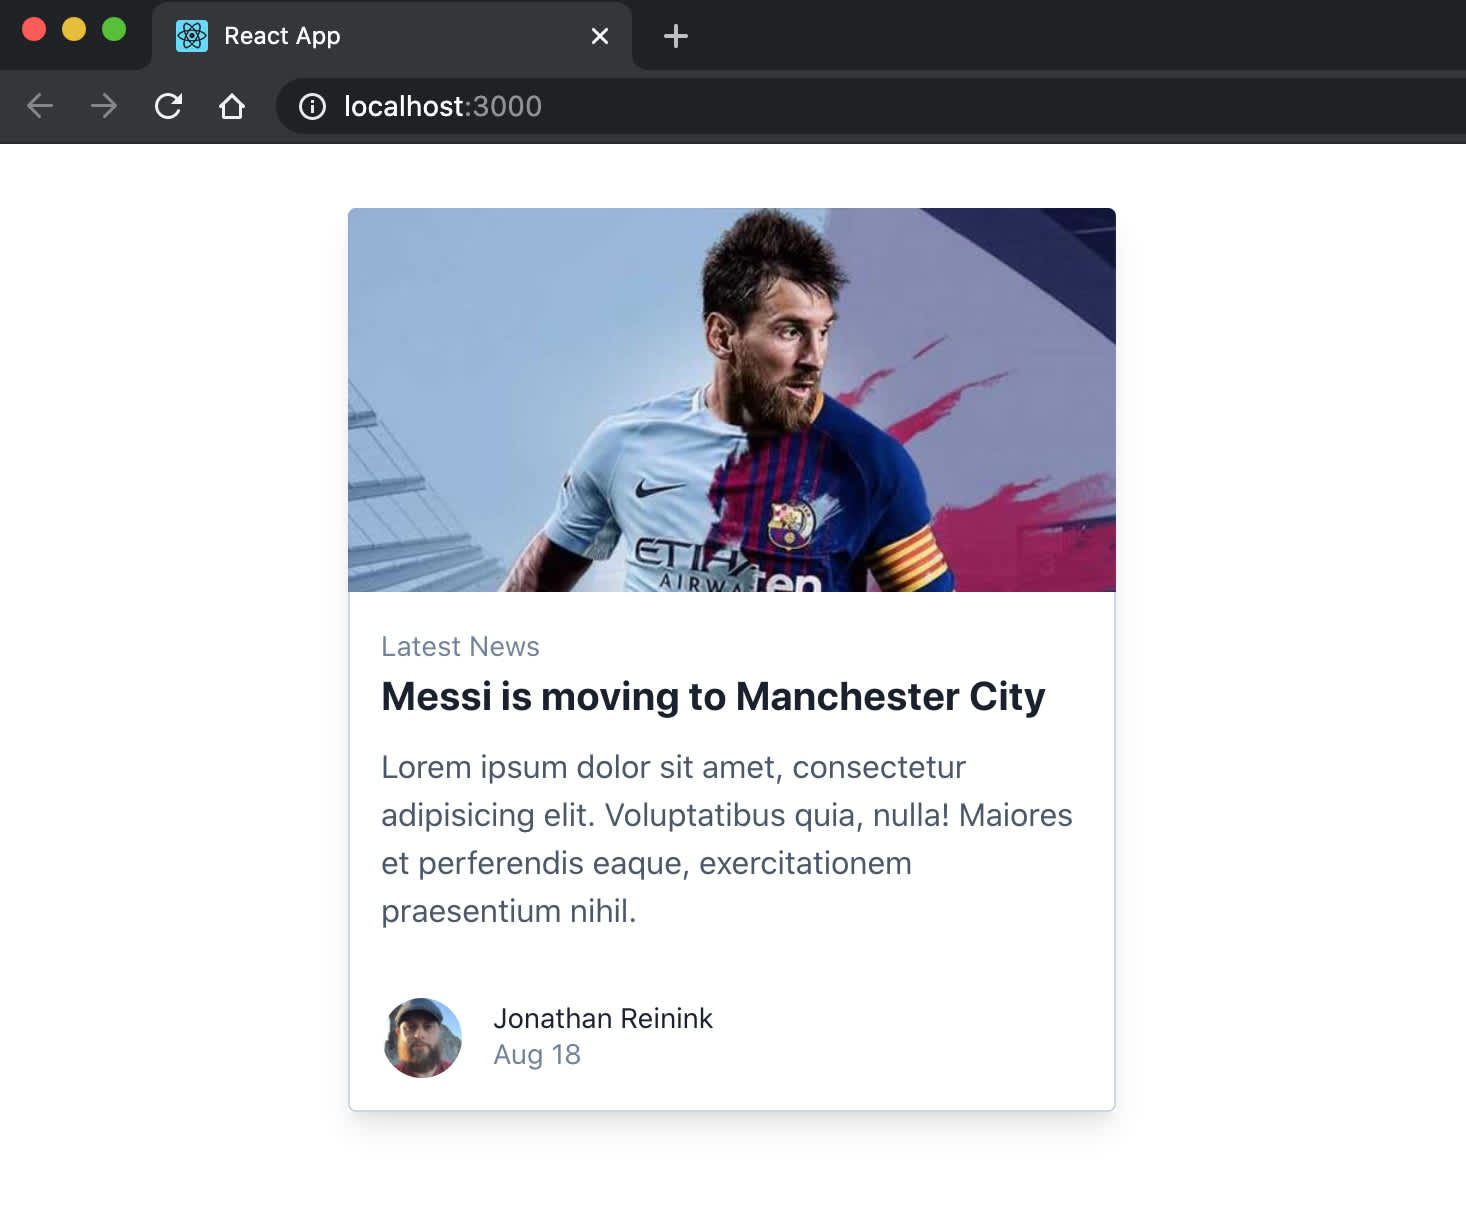
Kết quả sẽ trông như thế này:
Kết bài
Hi vọng anh em có thể tích hợp và sử dụng Tailwind CSS trong project của mình qua tutorial này, cá nhân mình thấy đây là 1 framework khá đơn giản và dễ sử dụng, chất lượng ổn.
Anh em để lại nhận xét cho mình ở dưới comment nhé :D
Bạn muốn bình luận? Công khai 😎 hoặc Ẩn danh 👻 đều được nhé!